Introduction
Homelabs are a great way to learn about networking, servers and other technologies. They are also a great way to test new technologies and ideas without having to worry about breaking anything in production. In this post, I will be going over the steps I took to create my homelab.
Every homelab is different, and there is no right or wrong way to create one. Everyone has different needs and wants and that is what makes homelabs so great.
My needs and limitations for a homelab
I’ve recently been envolved in a project that requires running high availability clusters running on premise, and I wanted to learn more about how to create and manage them.
I needed a homelab that could support the following:
- ESXi hosts
- vCenter server
- vSan datastore
- vMotion
In addition to the above, I wanted to learn more about networking and how to create a network that can support a high availability clusters, setup and manage vLans and so on.
The equiment needed to be power efficient and as silent as possible, as the hole setup will sit next to my desk.
The equipment
When choosing the equipment for my homelab, I had a few requirements in mind. I wanted to use equipment that was easy to find and that was not too expensive. I also wanted to use equipment that was easy to setup and manage.
I also wanted to use equipment that was close to what the project is using. The project is using Cisco switches and rack mounted servers, so I wanted to use the same kind of equipment in my homelab.
Switches and servers:
A lot of this equiment when bought new is very expensive, but if you look around you can find some great deals on used equipment. I managed to find some great deals on used equipment, and I was able to get everything I needed for a very good price.
So I decided to use the following equipment:
- 2x Cisco Catalyst 3750x stackable switch (150€)
- 1x Supermicro 1U rack mounted server (680€)
- 2x Intel Xeon E5-2697v3
- 1x Supermicro x10ddw-i
- 128GB RAM
- 4x caddys for 3.5" drives
- 1x PSU 550W
- 1x 1U rack mount rails kit
At this point, I had the basis for my homelab, but I still needed to buy some cables and a rack to put everything in and some storage.
Storage:
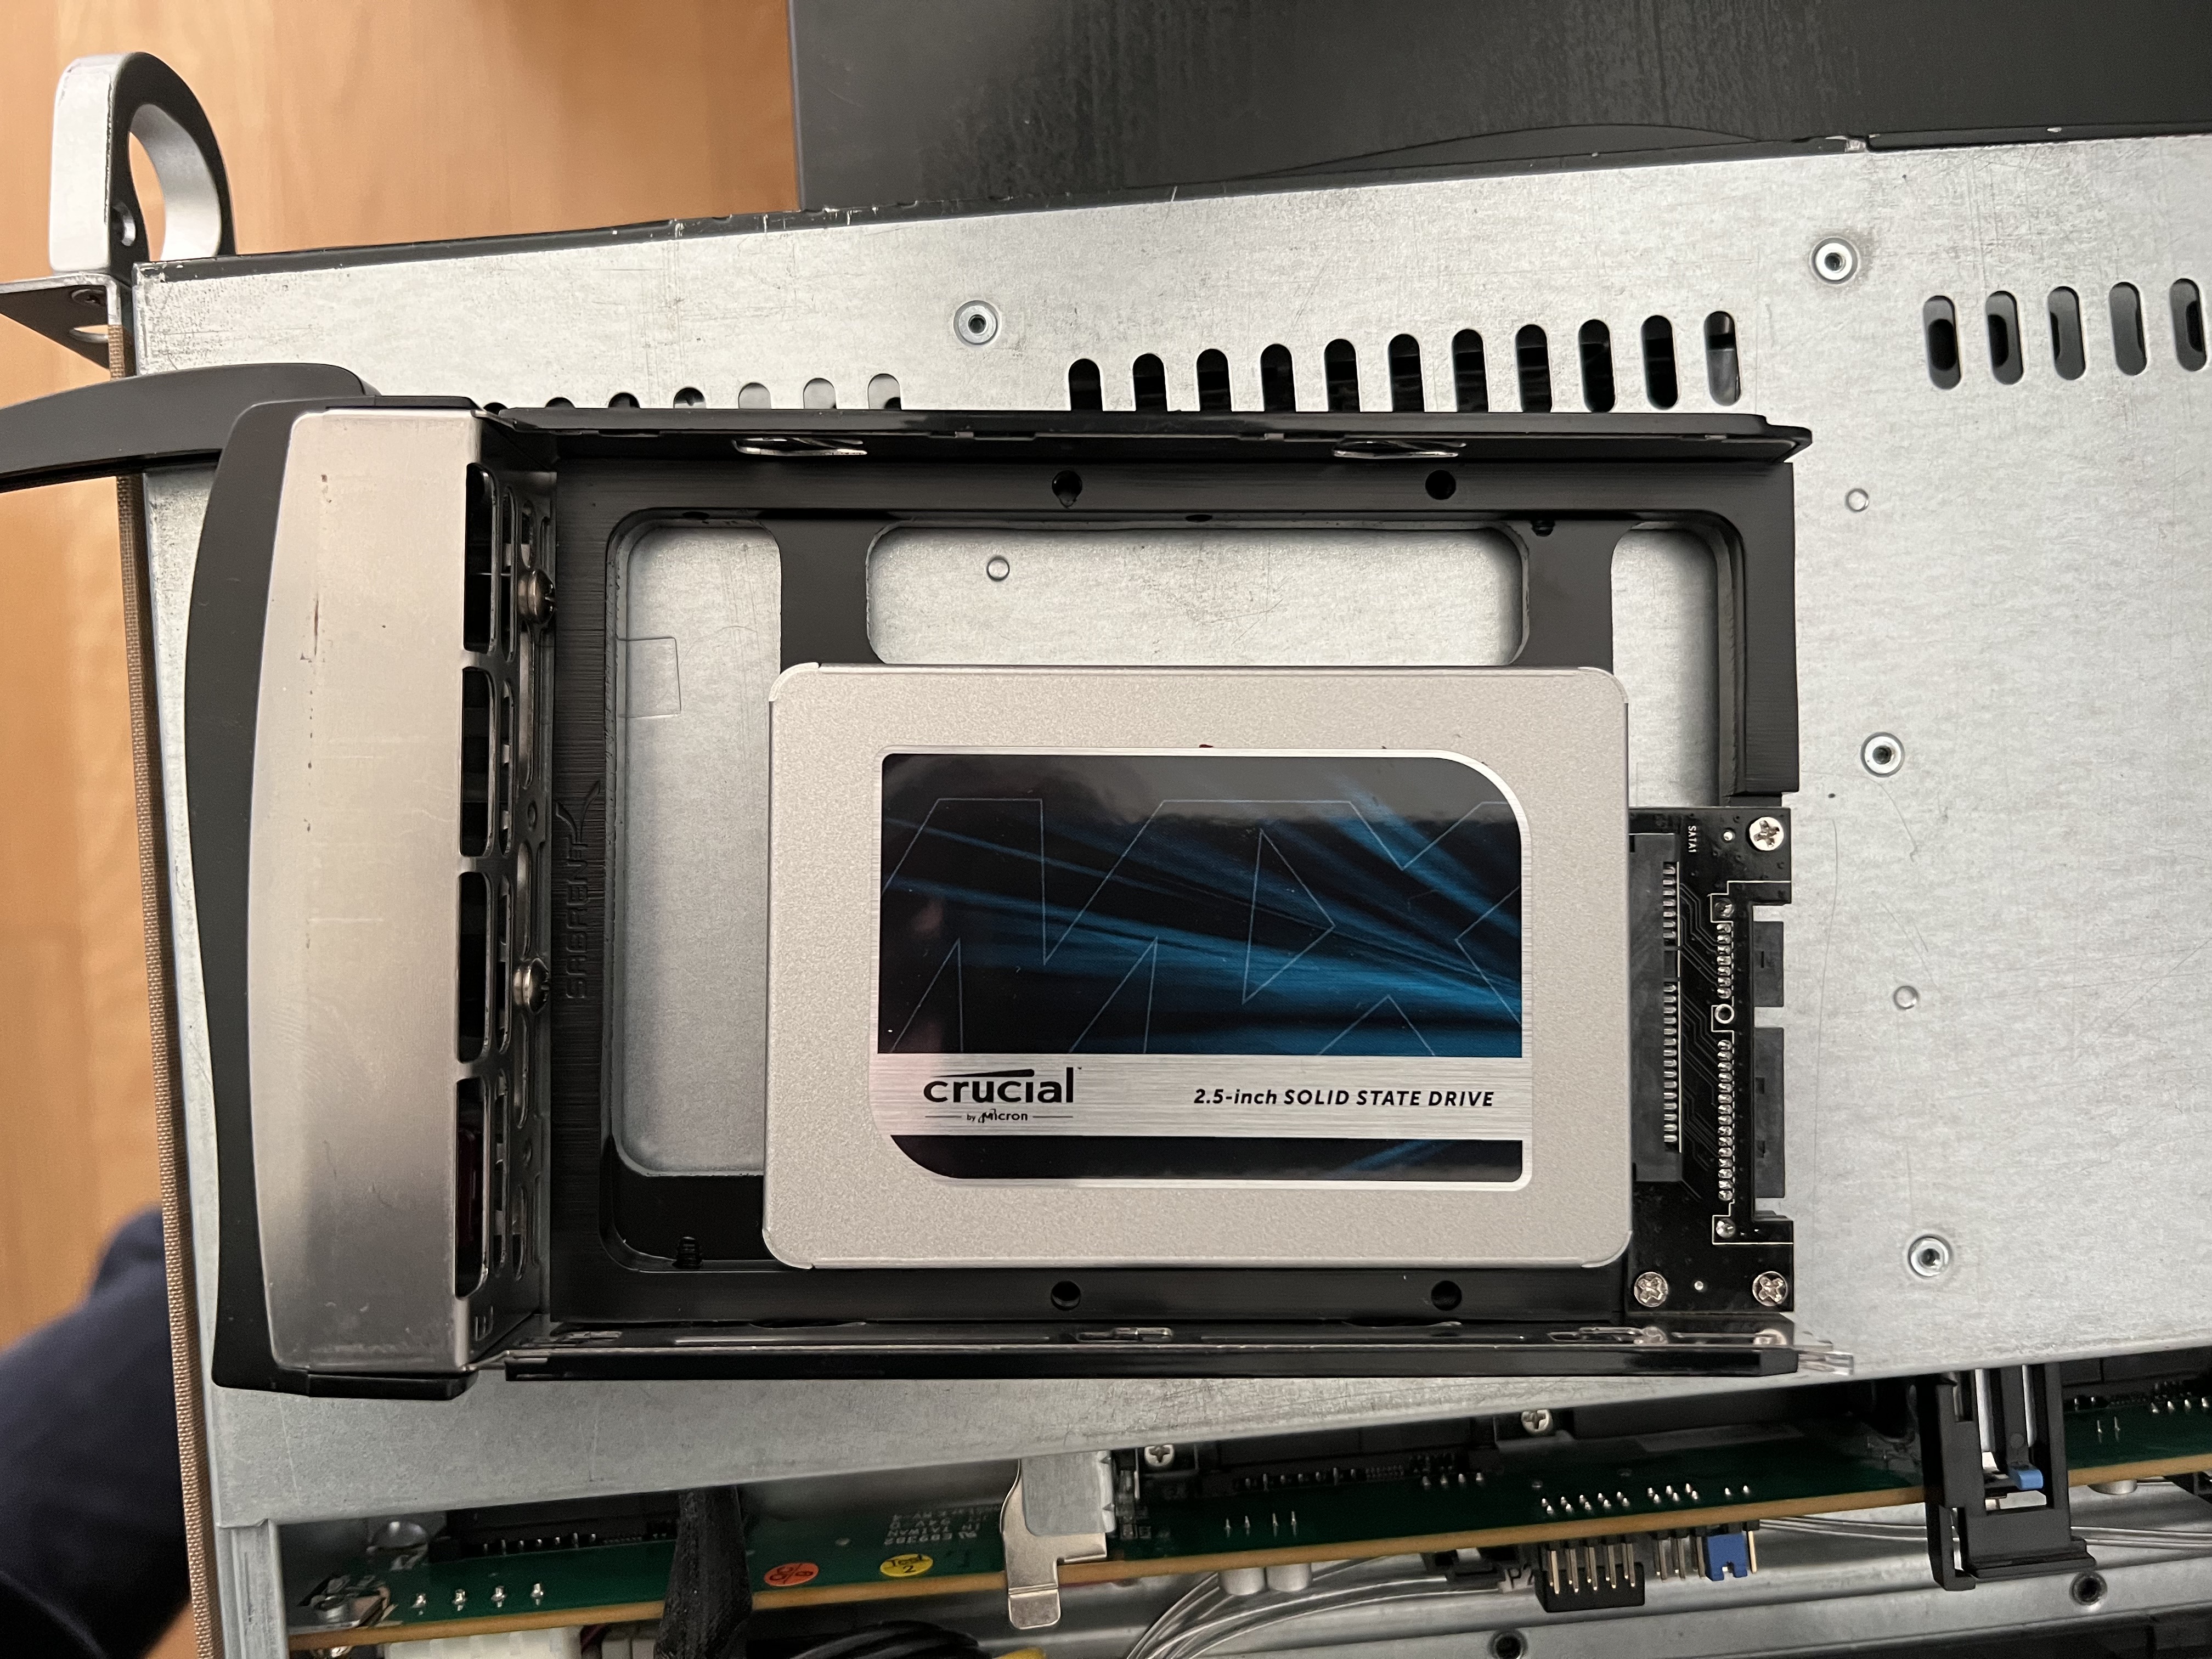
I’ve decided to try and get some fast storage for my homelab, so I chose to go with a 1x 1TB NVMe PCIe SSD, 1x 1TB NVMe SATA, and 4x 500GB SSDs in the caddys.
The main idea is to use the PCIe SSD as a boot drive for the ESXi hosts, and the SATA SSD as a datastore for the vSan cluster. With some additional storage for VMs in the 1TB NVMe SATA drive.
In order to add the NVMe drives to the server, I needed to buy a PCIe to M.2 adapter. I bought a PCIe to M.2 adapter that supports both NVMe and SATA drives. Note that this expansion board is not enterprise grade, but it should be enough for my homelab.
- 4x 500GB SSDs Crucial MX500.
- 4x 3.5’’ to 2.5’’ adapter SABRENT
- 1x PCIe to M.2 adapter glotrends 2 in 1 Adaptor M.2 PCIe NVMe M.2 to SSD M.2 PCIe 4.0/3.0 and SSD M.2 NGFF SATA
- 1x 1TB NVMe PCIe SSD Crucial P5 PLUS CT1000P5PSSD8
- 1x 1TB NVMe SATA SSD Timetec 1 TB SSD 3D NAND TLC SATA III 6 Gb/s M.2 2280 NGFF 512TBW
Rack:
Given the structure of my home office, and since I do not have a place to put a rack in a separete room, I needed something that was not too big, but that would fit a few servers and network equipment in the future.
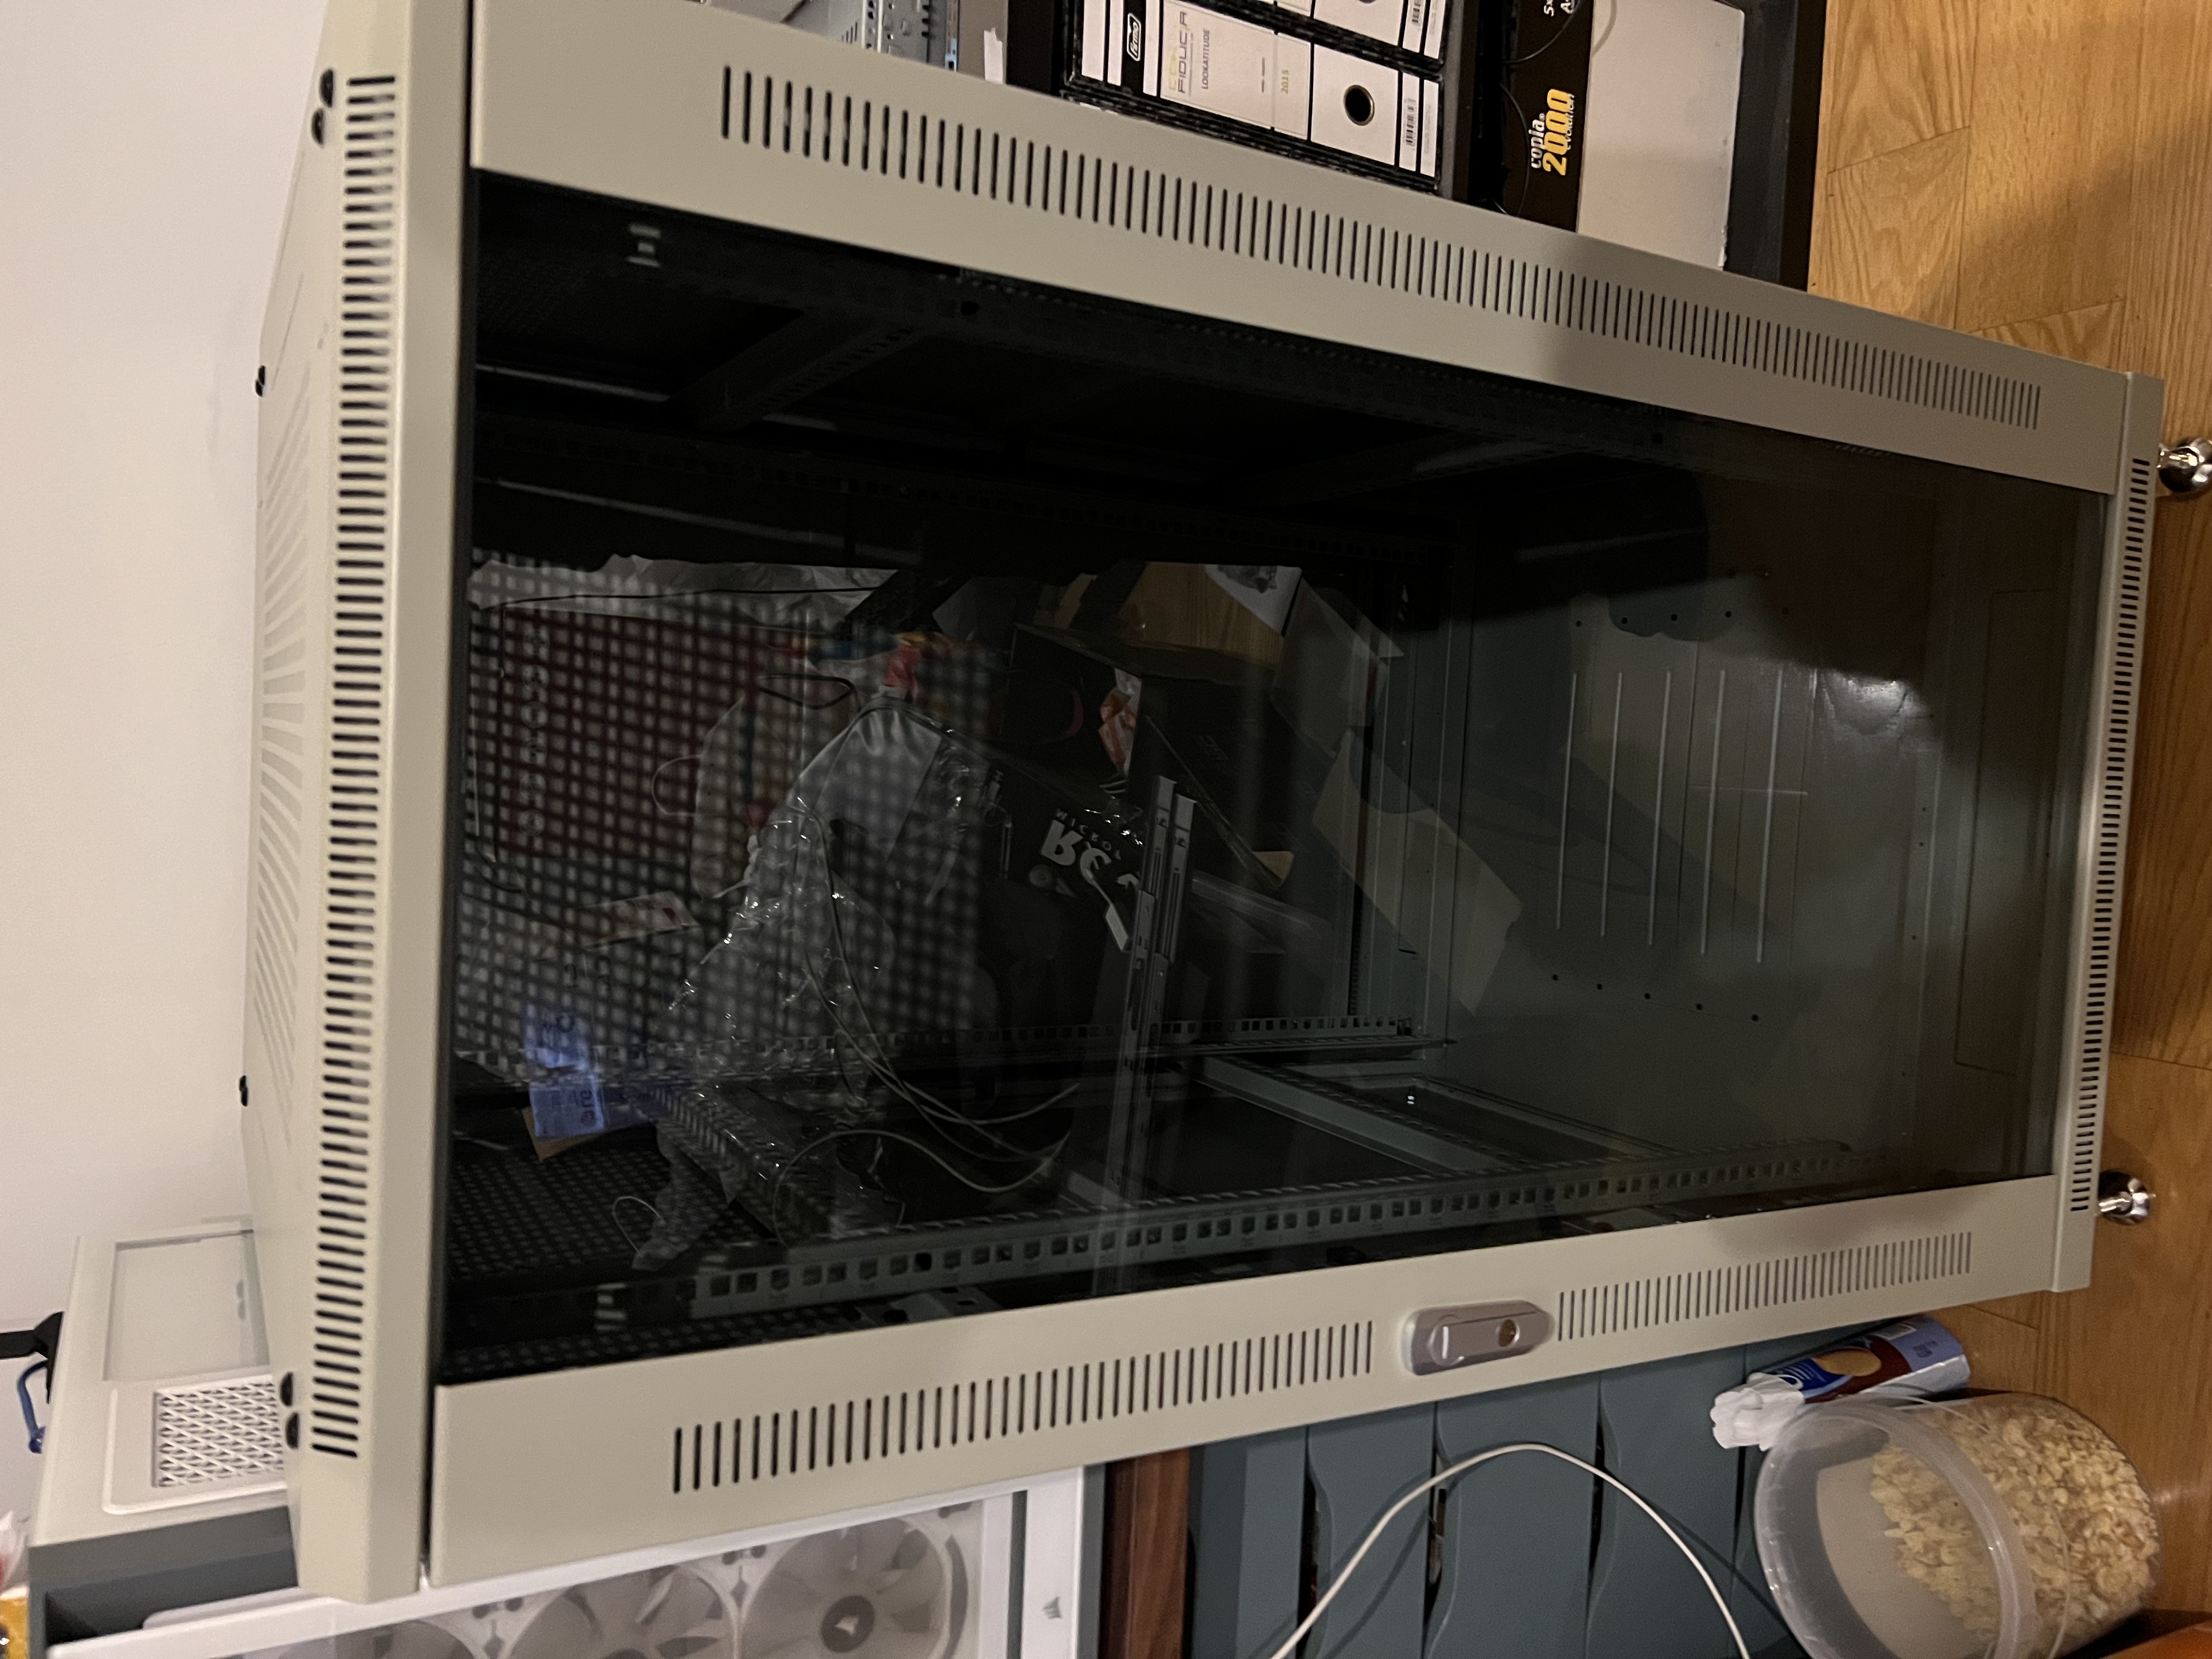
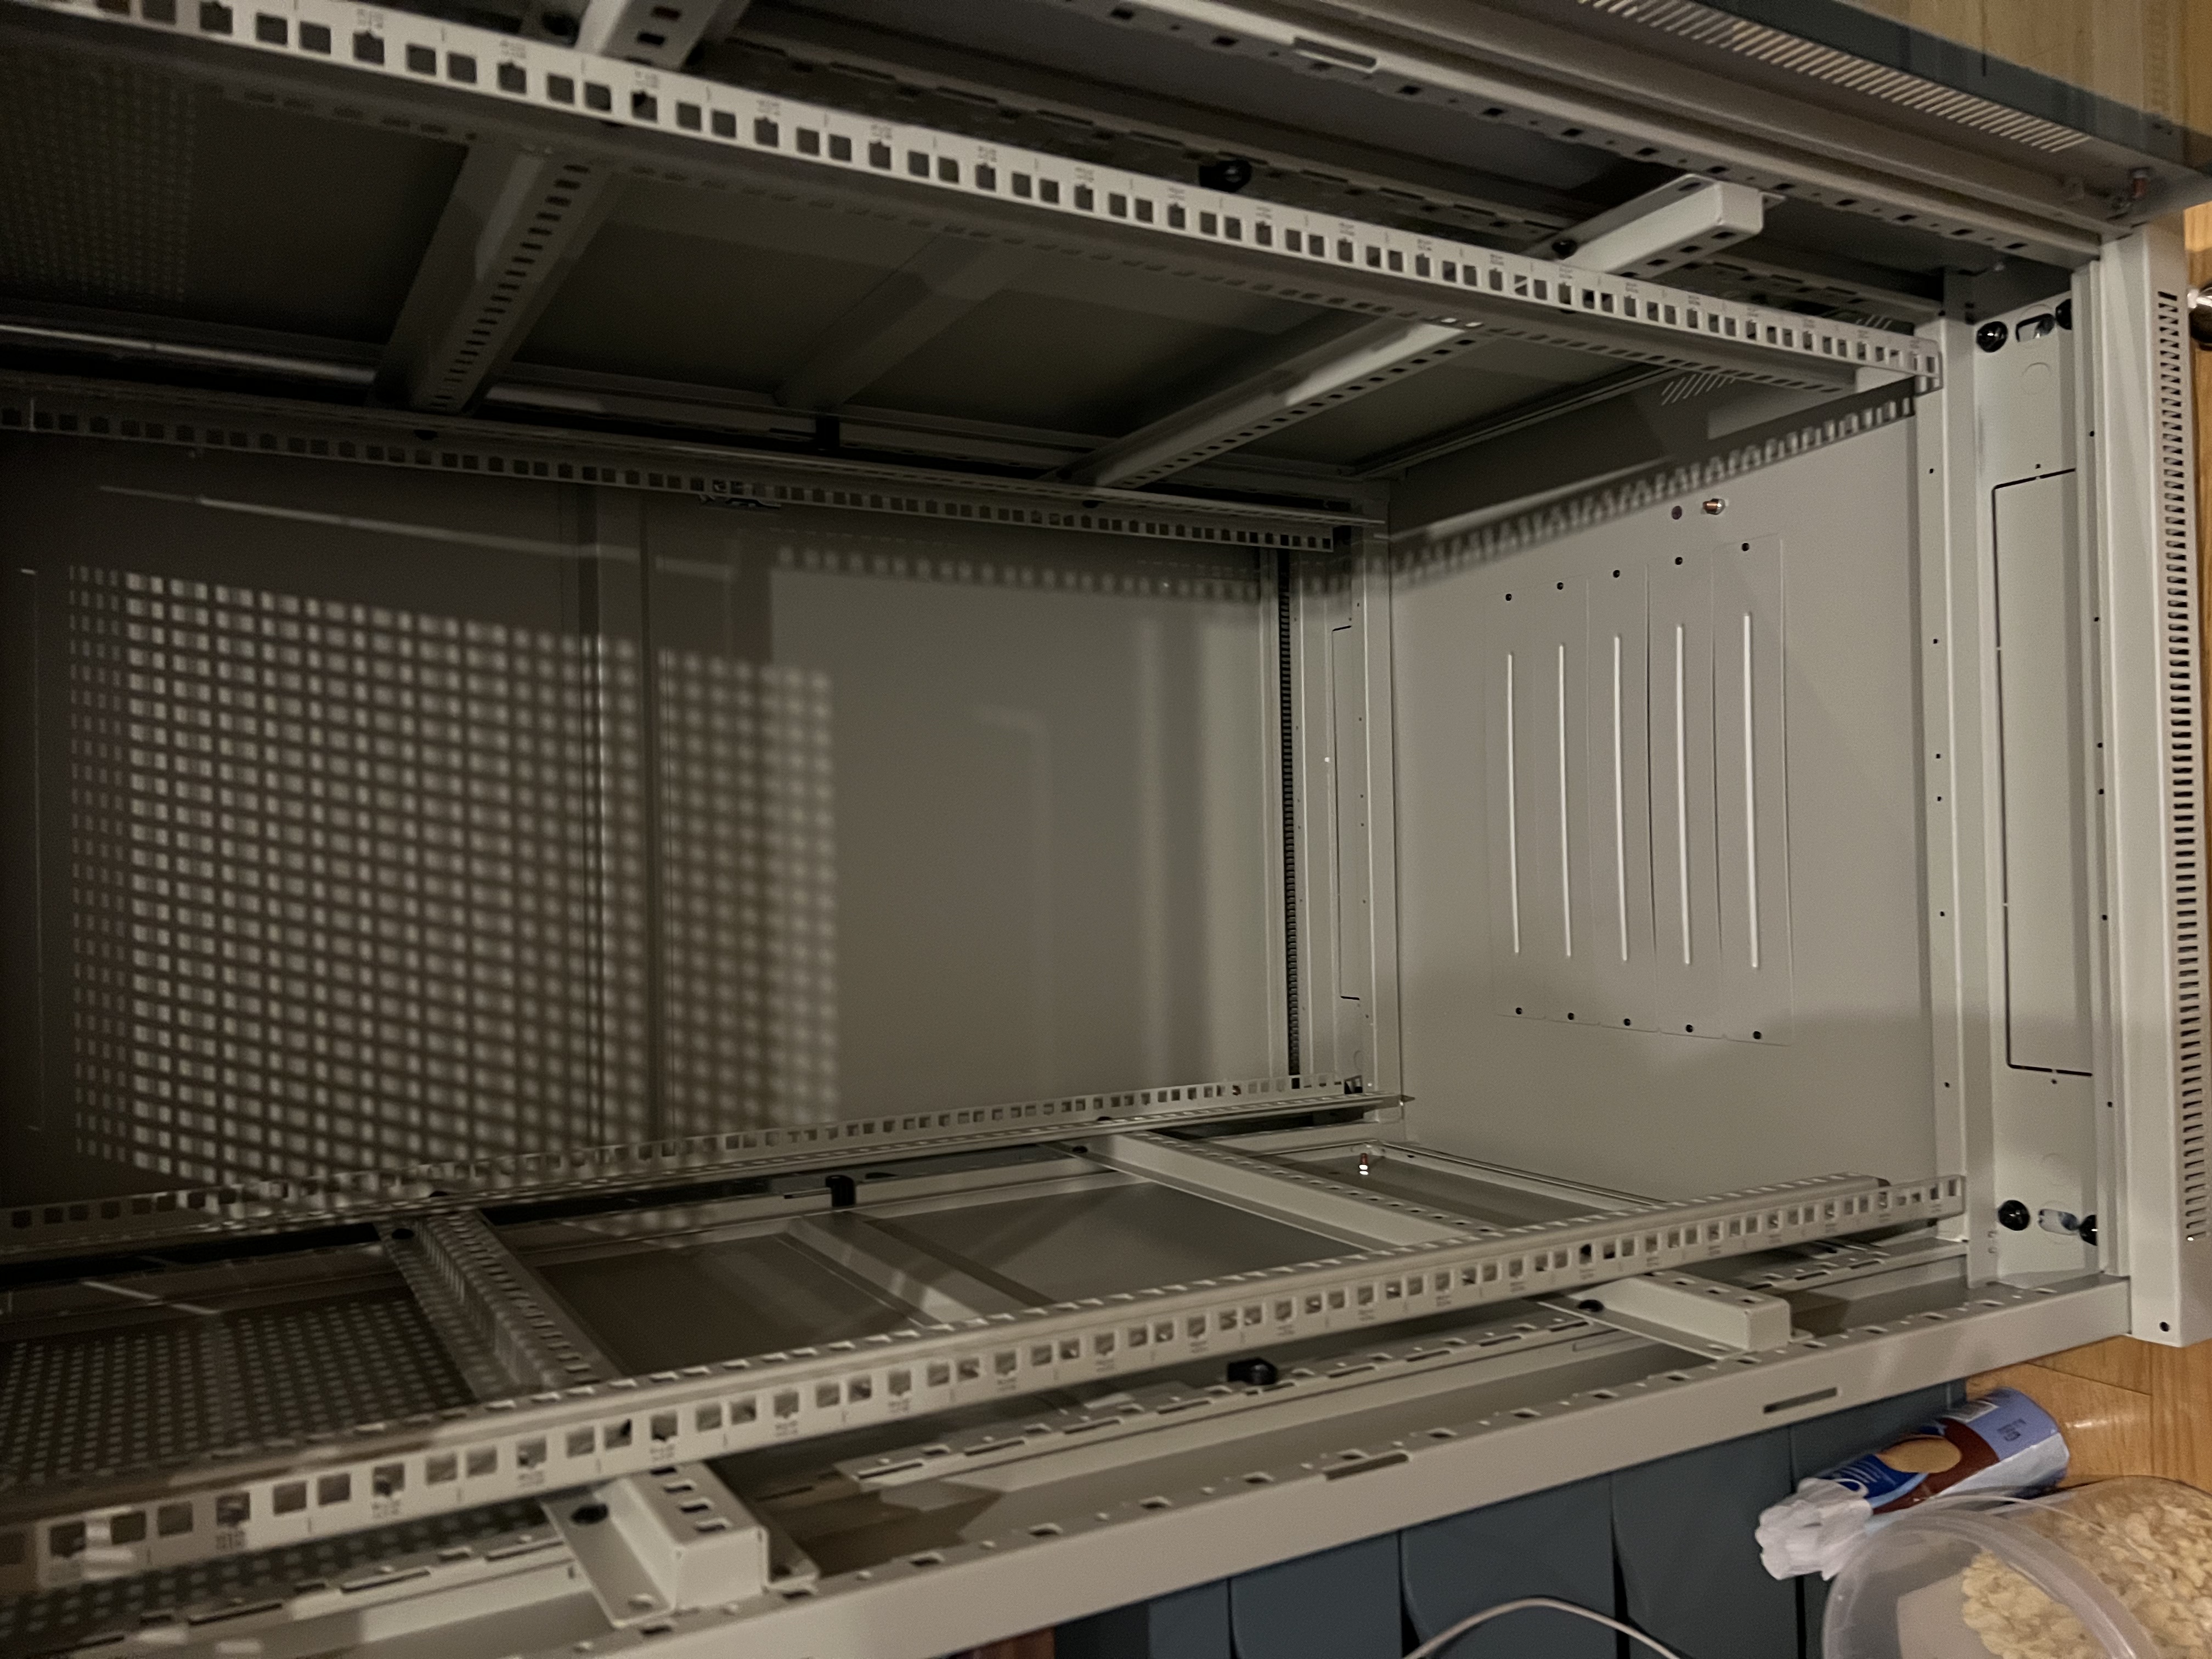
I decided to go with a 22U rack cabinet 600x800mm, that would fit the server and the switches. One thing I was not counting on was the size of the rails for the server, and I had to buy some additional extender to fit the server in the rack.
- 1x 22U rack cabinet 600x800mm MicroConnect
- 1x length extender for rack rails StarTech extensor 10 cm, 2 U
I’ve also noted that the rails when being put in the correct position, due to the way the rails are designed there’s a small clearence and in the back the rails are thicker so I couldn’t push the server in. After trying it in different positions and configurations (extenders in the back or on the front of the rack) in front it did not work as I could not close the door and in the back I still had the thickness of the rail. So, after a while I came up with a small hack. I got some M6 screws (same as the ones used to mount the rails) but with a different length, in this case 50mm long intead of the 20mm that come with the rails, and I used them to mount the rails in the back of the rack, this way I was able to push the server in and close the door.
To handle the power for the server and the switches I needed to buy a power strip. Ended up going with a 1u power distribution unit.
I also picked up a few other pieces of equipment complete the setup and keep things organized within the rack. So I’ve bougth a cable organizer to keep the cables organized, and a pack of rack mounting nuts and screws.
- 1x Cable organizer MicroConnect Front Panel
- 1x Rack mounting nuts and screws Digitus Kit
Cables and patch panels:
I also needed to add some cables and patch pannel to connect the switches to the patch pannel.
At this point in time the patch pannel hasn’t arrive yet. One requirement I had was to have a patch panel that was 1U, and that had a good amount of ports, and that could take RJ45 on both sides. I do not want to be creating cables everytime I need to change things around. As a homelab things are going to change a lot, and I want to be able to move things around without having to create new cables.
Initially I was going with a patch pannel that had 24 ports with RJ45 on both sides, but the product was never delivered so I had to go with a different one.
As I don’t know exactly how things will grow in the future, I decided to go with something more modular. So I’m thinking on going with a patch pannel that has 24 placements for keystones that I can change as needs grow.
A few images of the setup:


